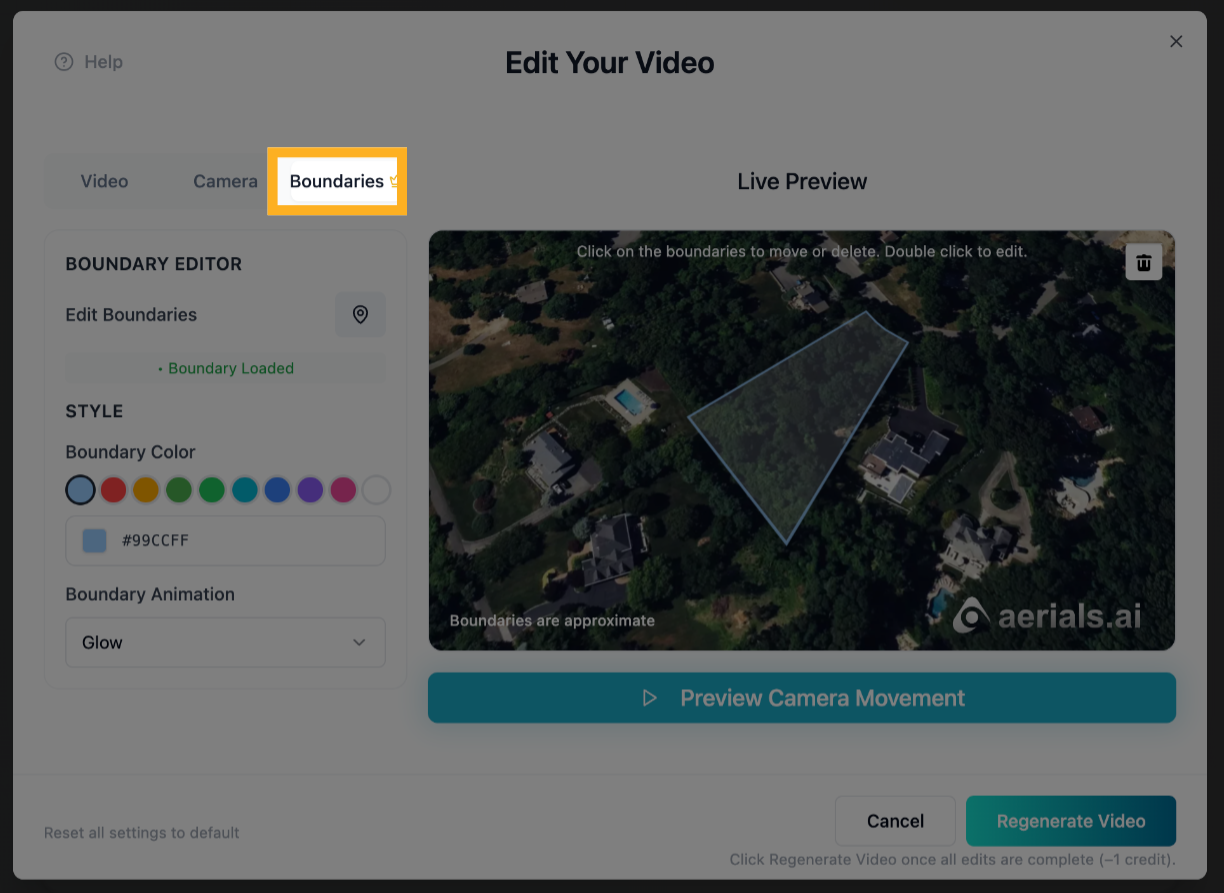
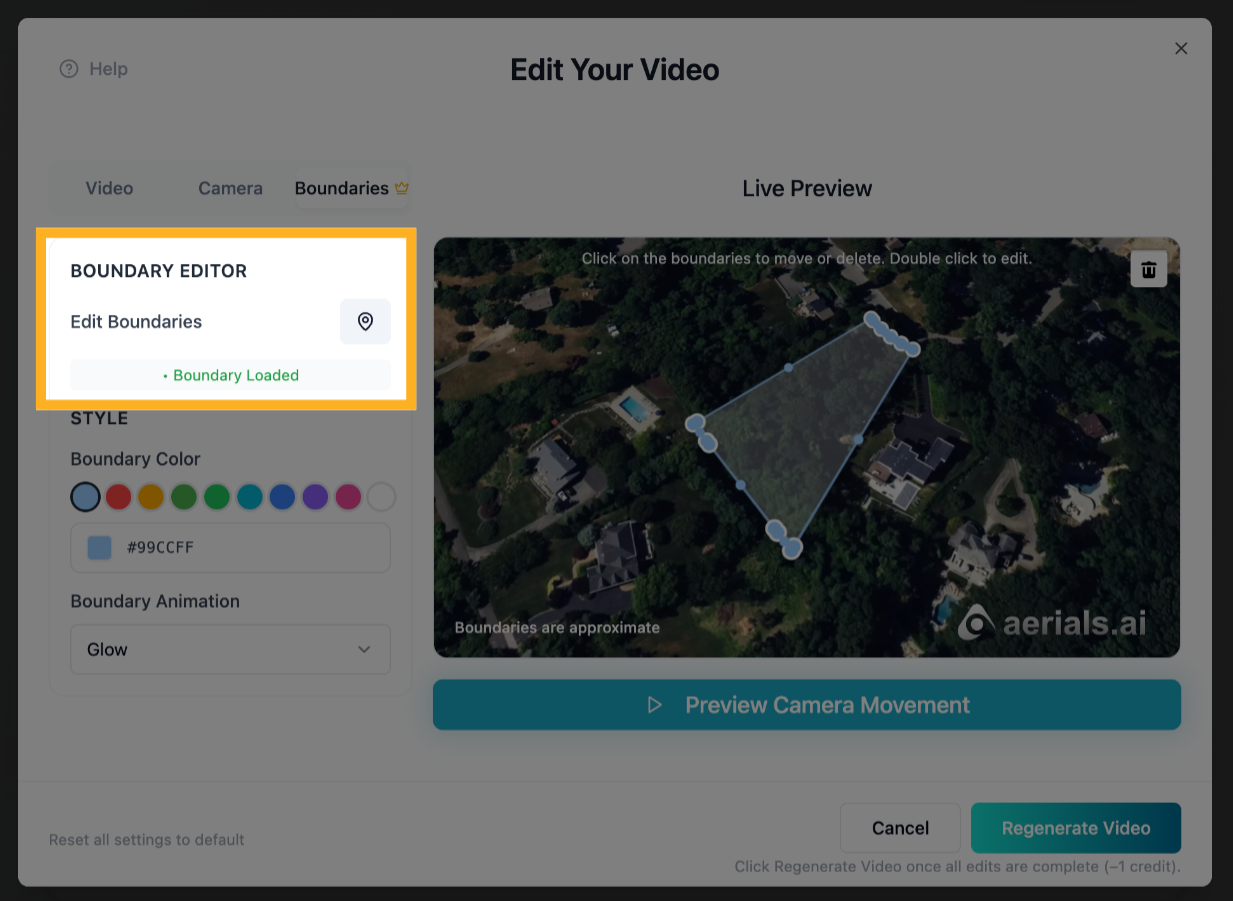
1) Click on the “Boundaries” Tab
Open up the boundaries tab inside the edits box.
2) Move or Delete the Entire Boundaries
First, click one time directly on the property outline inside of the “Live Preview” box. Then, to move the entire boundaries, click and drag to your desired location. To delete the entire boundaries, press Delete on your keyboard or click the trash icon on the map.
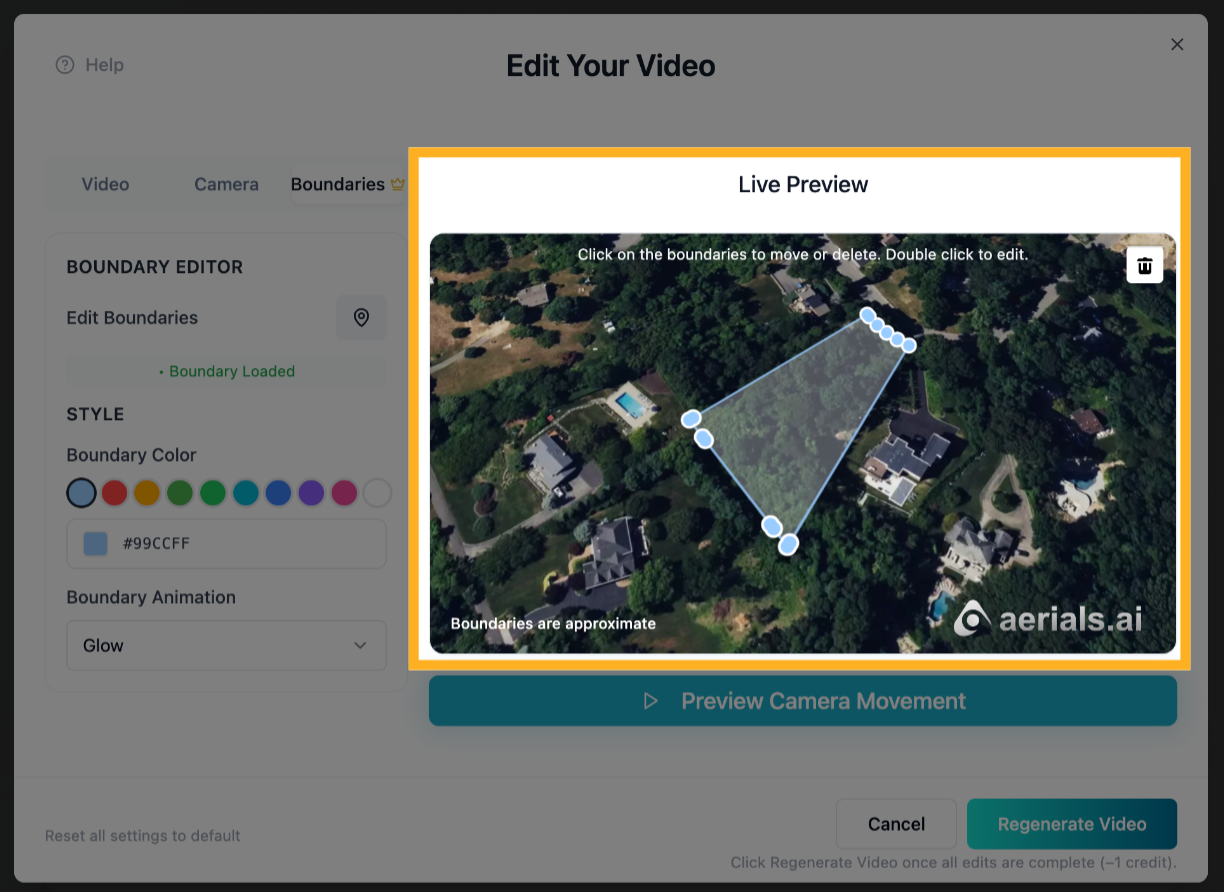
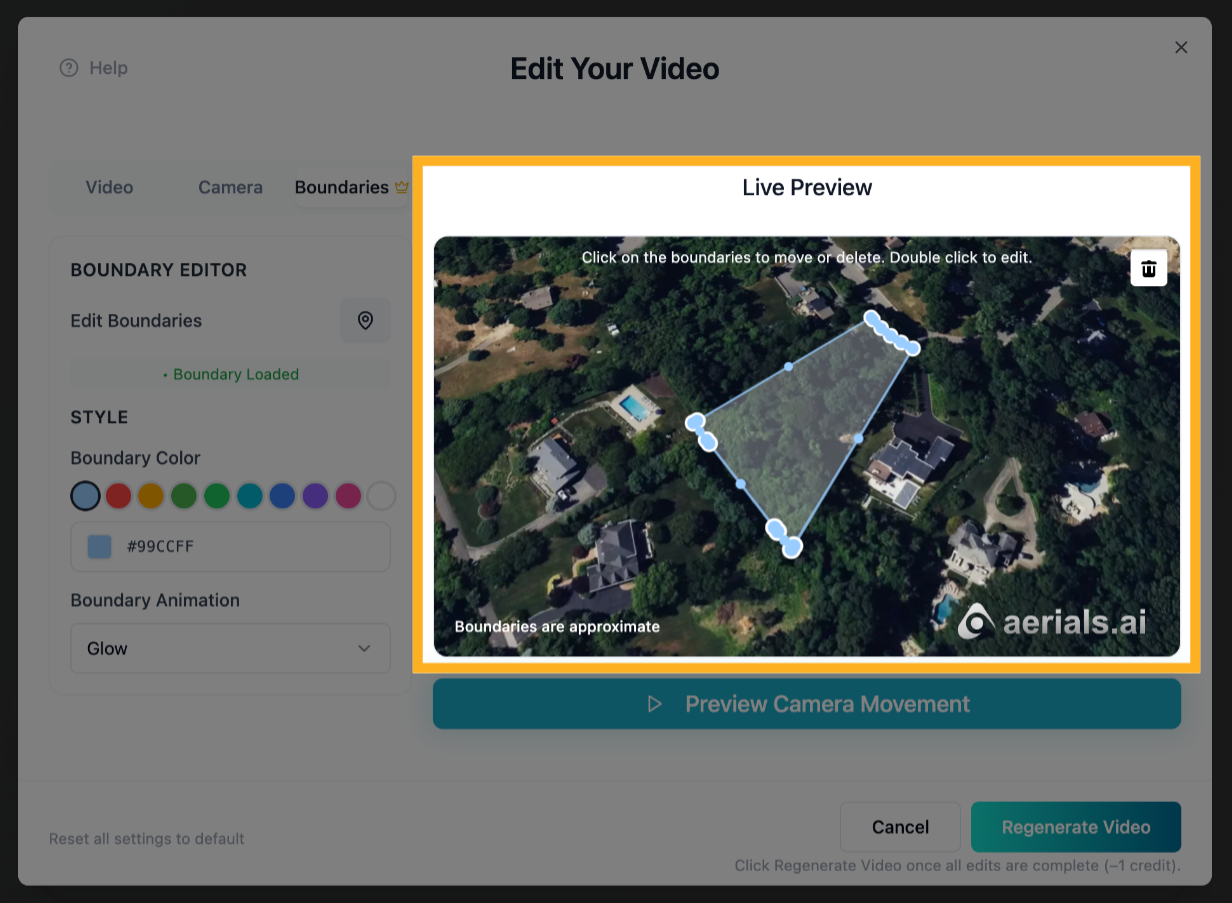
3) Edit the Boundaries
Double-click the property outline in the Live Preview box (small circles will appear between the larger ones). Drag any circle to move it, press Delete to remove it, or click the nearest small circle to the spot you want to adjust to add a new point.
4) Restore the Boundaries
Click the location icon to restore the boundaries to their default shape.
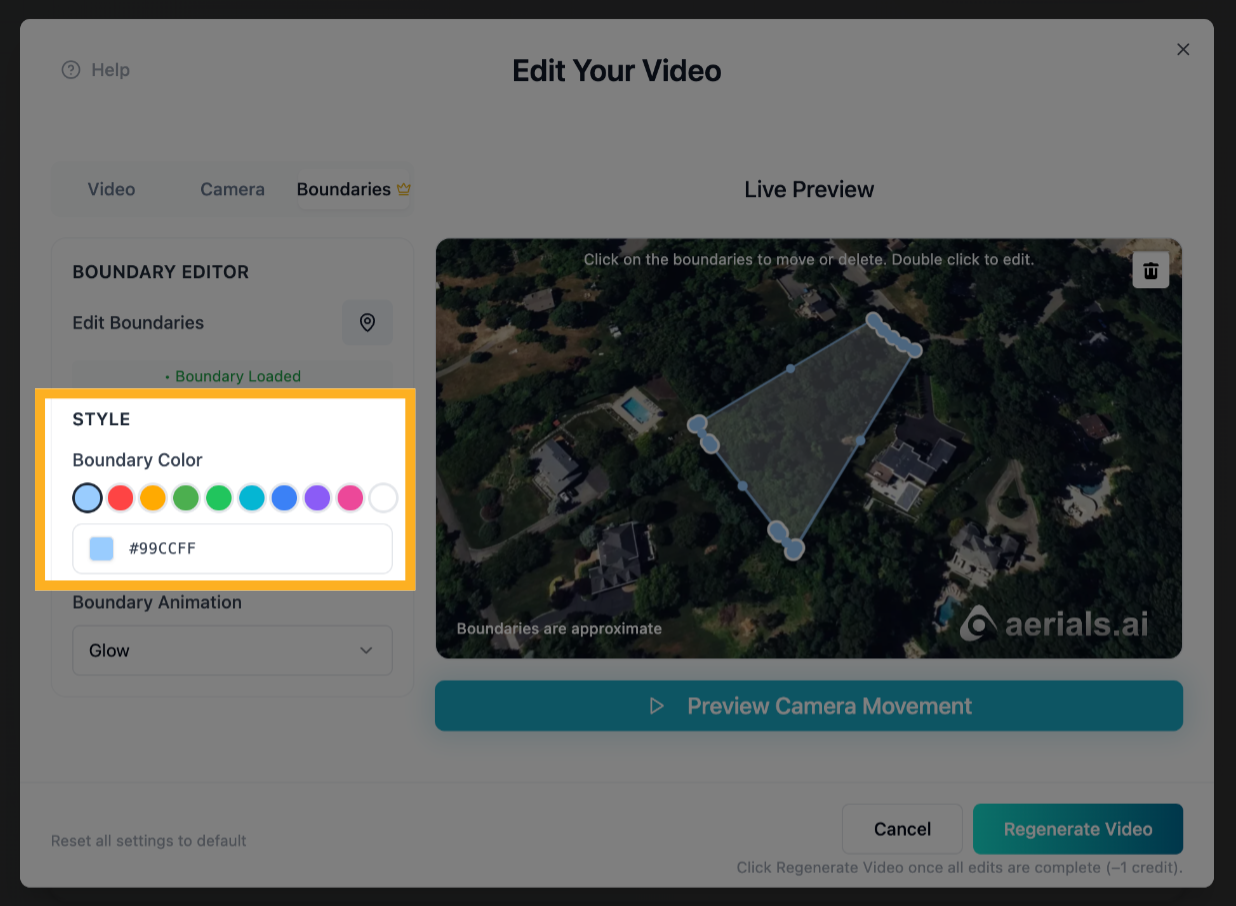
5) Change the Boundaries Color
In the Style section, select any color preset or enter a custom color.
6) Change the Boundaries Animation
In the Boundary Animation section, select an option from the dropdown to change the boundaries animation type.

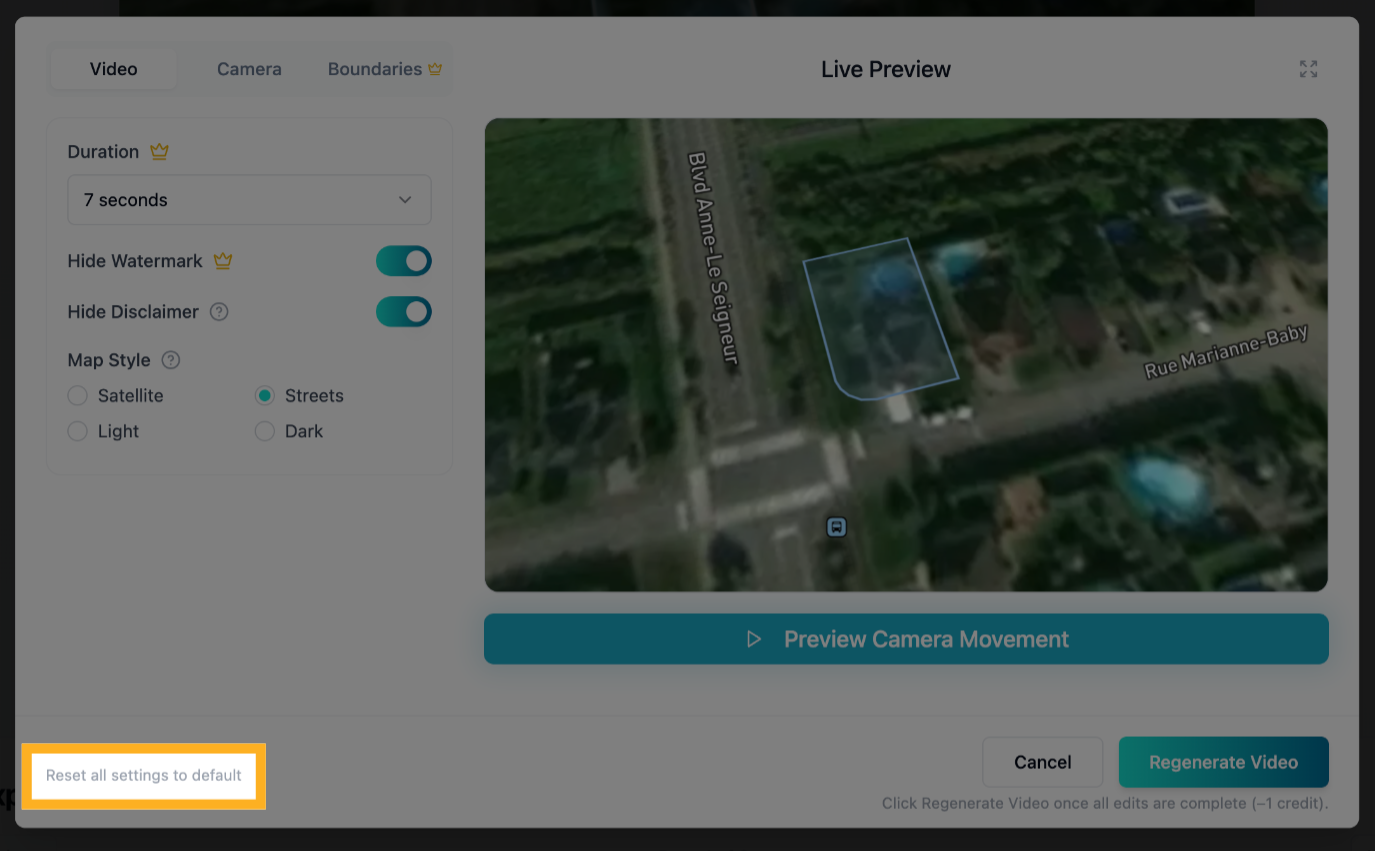
7) Reset All Settings to Default
Click “Reset all settings to default” to reset all settings across all edit tabs (including the original camera angles) back to their original defaults.
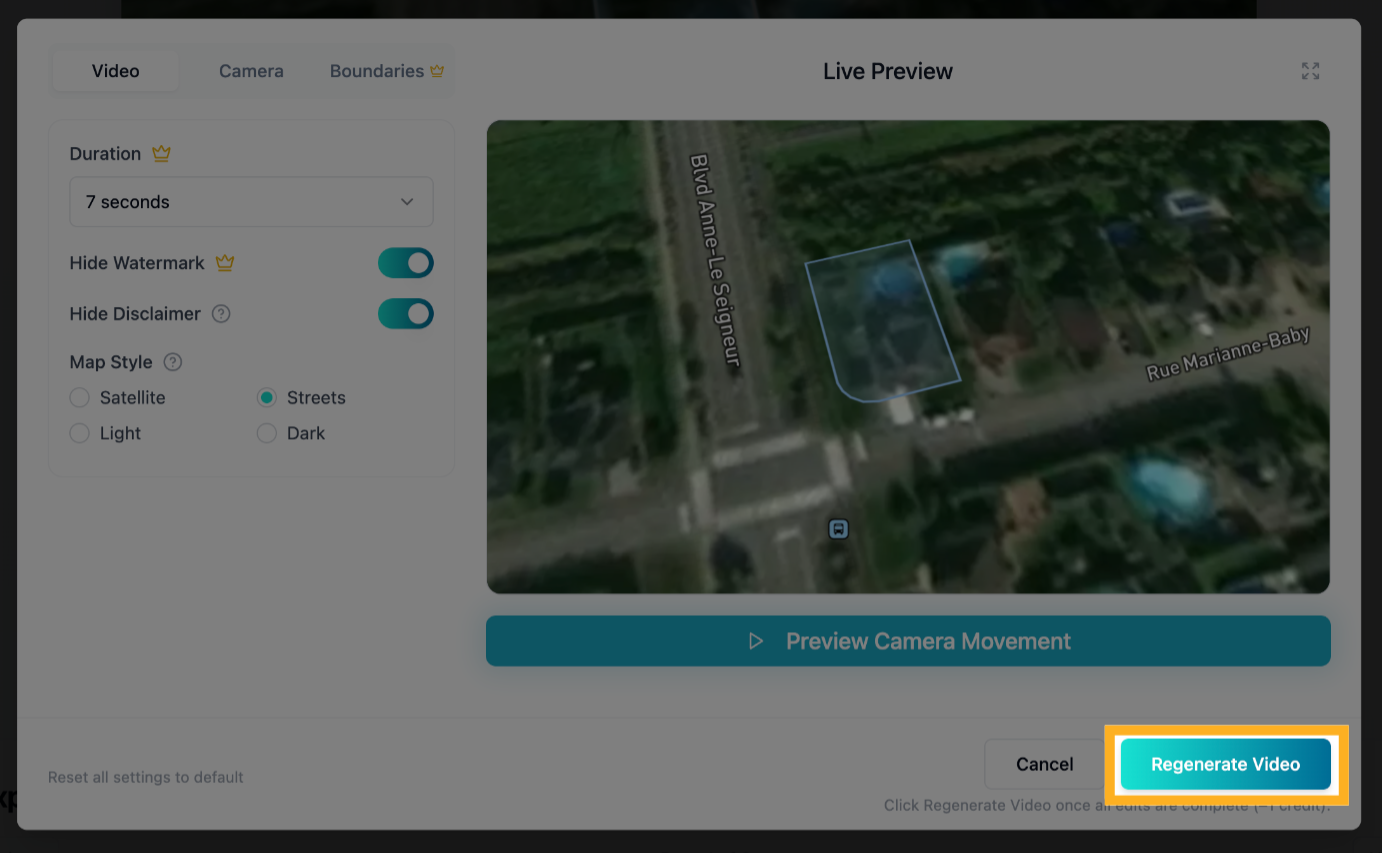
8) Regenerate Your Video
NOTE: Click the Regenerate Video button only after all your desired edits across all edit tabs are complete. This will regenerate the video from scratch and will cost another credit.